In this Photoshop tutorial, we’re going to see how to create extremely glossy and shiny text effect with glitter texture. We will use simple techniques blending and layer style effects. The psd file and pattern are attached. You may find free psd file below.

- Create a new Photoshop document 1024*768 px, resolution 72px/inch. Layer style setting are working correctly just for 220 pt font size(240 pt for the first letter). If you use different font, play with adjustments. You can change the final image size without losing effects after merging of all layers.
- To create background, fill the first layer with any color.

- Apply following Radial Gradient Overlay effect to this layer.

- Create a new empty layer above gradient background, place lines pattern.
- You may create it yourself, just fill the new layer with diagonal lines pattern and apply Filter > Distort > Twirl > 200 ° .

- Apply Overlay Blending Mode to pattern layer and Opacity 10%.

- Create a new empty layer and draw a large spot #ff0096 color using soft round brush with diameter 500 px in the center of composition.

- Type the text, I've used Wrexham Script font, font size 220 pt and 240 pt for the first letter.

- Load selection for the text layer - Menu > Select > Load selection. Make text layer invisible.
- Keep selection, create a ne empty layer, go to Menu > Edit > Stroke. Create 3 px width outside stroke.

- Apply Bevel and Emboss effect to created stroke. The Layer "Fill" = 0%.


- Return to the Text layer duplicate it 3 times. Rasterize each duplicate(right click layer and choose > Rasterize). Place duplicates above stroke layer.
- Apply following settings to the text duplicate.


- Apply Bevel and Emboss layer style effect and Fill 0% to the -"Glitter Copy2" layer.


- Add Satin layer style effect to the of the text layer.


- Now, return to the pattern layer, duplicate it and place above all created layers.
- Load selection to any text layer and may active the new pattern layer.
- Choose Filter > Distort > Spherize. Apply Amount 50%.
- Inverse selection and clear outside pattern area.

- Apply Overlay effect to this layer and Opacity 20%. Now we have got volume patterned letters.

- Duplicate "pattern_text layer" to create glitter texture effect.
- Apply Dissolve Blending Mode and Opacity 14% to duplicated layer.
- Merge dissolved layer with a a new empty layer.

- Apply Overlay Blending Mode and Opacity 80% to the merged dotted layer.
- In order to remove gliter effect from letters edges, load selection for any text layer again, keep active created glitter layer. Go to Select > Modify > Contract > 2px, Select > Modify > Feature > 2 px, Select > Inverse. Choose Edit > Clear.

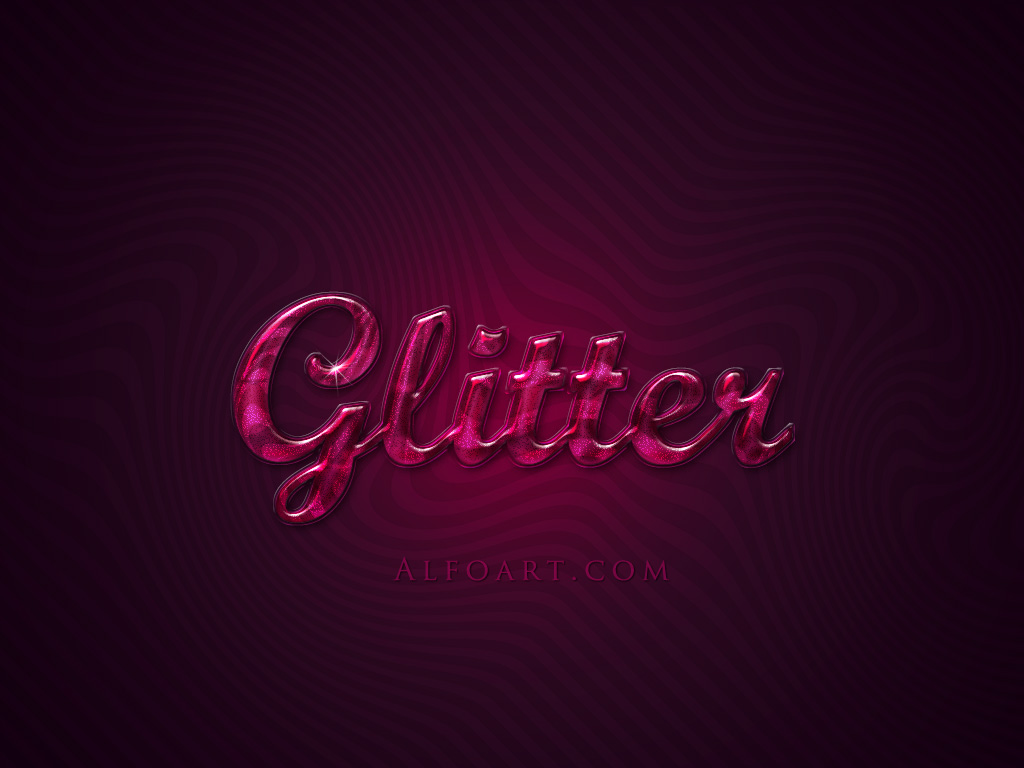
- In final you may add shiny effect with "starbust" brush from preset assorted brushes set.

And Here is result!


0 commentaires:
Enregistrer un commentaire